Changing settings for multiple issues at once
Choices
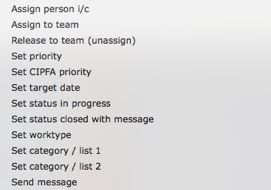
The Change settings button allows you perform the following actions on one or more selected records:
- Assign person i/c - select a new person as the person in charge (notifications will be sent).
- Assign to team - assign the issue/s to a selected team (notifications will be sent).
- Release to team (unassign) - remove the person in charge and release the issue/s to the relevant teams. NOTE ony records that already have a team assigned will be updated!
- Set priority - set the priority of the selected issue/s. NOTE linked tasks and works items will also be updated!
- Set CIPFA priority - set the CIPFA priority of the selected issue/s. NOTE linked tasks and works items will also be updated!
- Set target date - set the target date of the selected issue/s. NOTE linked tasks and works items will also be updated!
- Set status in progress - set the status of the selected issue/s to 'in progress' (notifications will be sent). NOTE only issues that currently have the status of 'open' will be updated!
- Set status closed with message - setthe selected issues to 'closed' and attach the same message to each
- Set worktype - set the worktype of the selected issue/s.
- Set category / list 1 (or 2) - specify the category list that the issue/s are to be assigned to
- Send message - Send the same message to all personnel linked to all selected issues
The Helpdesk issues list
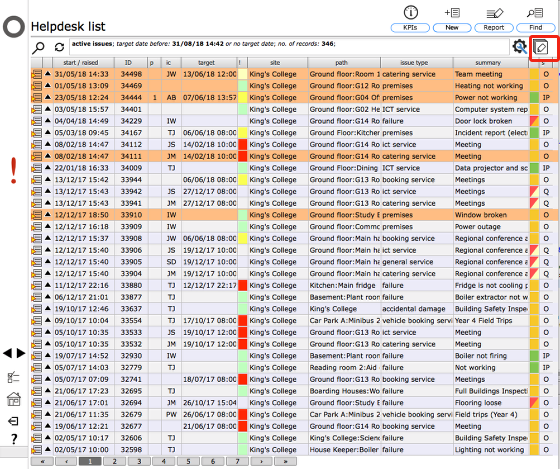
Certain types of user can make changes to multiple Helpdesk issue records at once from the main issues list. If you are able to do this you will see the edit settings button at the top of the list.
Making a selection

Using the Change settings button you can make changes to one or more selected records:
- To select a single record, click on the relevant row - the row will highlight in orange.
- To select multiple sequential records, click on the row for the first record and shift-click on the the row for the last record - all records in between the first and last will be highlighted orange.
- To select multiple records picked from the list, click on the forst record, then cmd-click on each additional record you wich to include in the set - all selected records will be highlighted orange.
Once you have selected the record/s, click the Change settings button to proceed.
Confirm choice
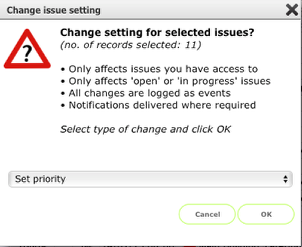
Select the type of change required from the list and click OK to proceed.
Specify new setting
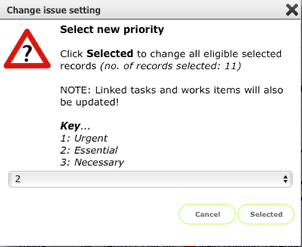
Select (or enter) the new setting and click Selected to proceed with the change.
NOTE: some changes require a slightly different process. For example to change the person in charge you will now select the relevant person from your contacts list.
Confirmation of update
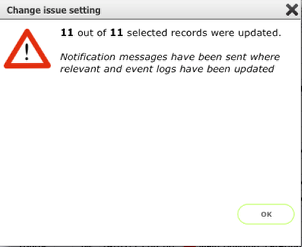
The final dialog message will confirm how many records were successfully updated.
Confirmation of update (not all records updated)
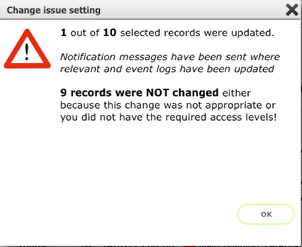
Where it was not appropriate or not possible to update some records, the final message will confirm how many records were not updated. This is usually because the type of change selected was not appropriate for the record/s. For example it is only possible to release an issue back to the team where a team has already been assigned. Occasionally you may find one or more records were not updated because you selected records that you do not have editing rights for.