Adding contacts to Flow360 (NOT for employees!)
Adding a new contact to Flow360
Adding employees
IMPORTANT -- If you need to add employees please follow the lessons in the section on employees. Use this lesson only for adding contacts who are not employees!
See also...
Adding employees
The start screen
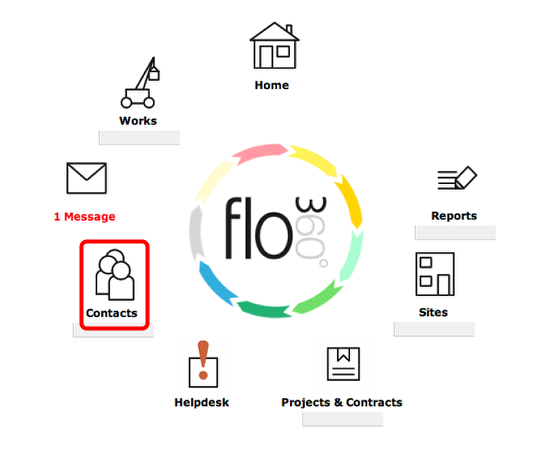
To add a new contact, click the Contacts button on the main start screen.
The contacts list
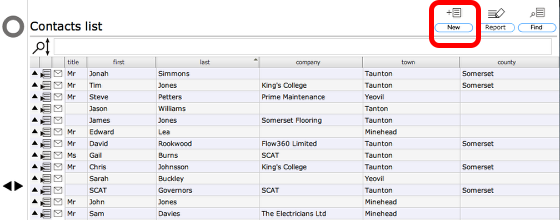
Now click the New button on the contacts list.
NOTE: You can also create a new contact card by clicking the New button on any contact card.
Enter new contact details
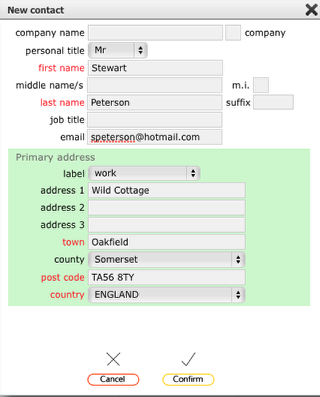
Fill in all required fields and any other details as you like. Click Confirm to create new contact record.
NOTE: If you want the contact listed under a company name rather than the individual's name, make sure you add the company name and then click the company tickbox.
TIP: Adding another contact with the same business and address details
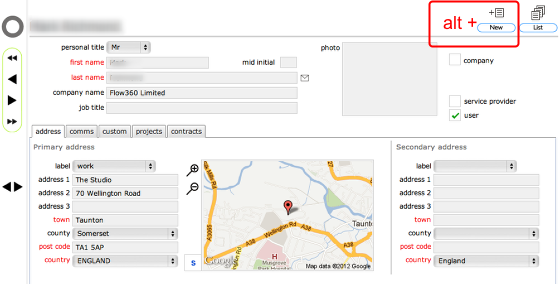
If you alt-click on the New button on any contact card you will launch the new contact dialog with the business and address details of the current contact already copied over, allowing you to quickly add another contact at the same business and address!
The new contact card
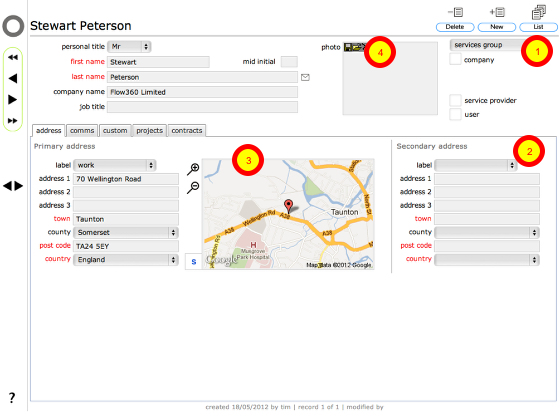
Once on the new contact card, you can set the access controls (1) (set by default according to your personal preferences - see the section on setting personal preferences for more details). You can also add an additional address (2).
The map will show the location of the primary address provided the street and a post code were entered. (3)
You can add a photo using the controls on the photo box (4) to upload a photo from your computer.
The comms tab

Add any communications details that you like - telephone numbers, email addresses, web addresses, fax numbers and so on. For each different type of comms you can also indicate which is the primary number/address of its type by clicking the target button on the appropriate line. The green tick indicates which item is the primary one of its type.
The custom tab
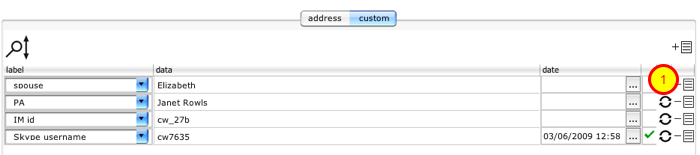
On the custom tab you can add any additional information you like about this person. You can set up the categories for these custom data items in your preferences. (see the section on setting personal preferences for more details).
You can also allow others to see custom data you assign to your contacts by toggling the 'public' tickbox using the toggle public status button (1).