Creating an order for a single task
The quickest way to select a task and put it on an order
Go to the task record
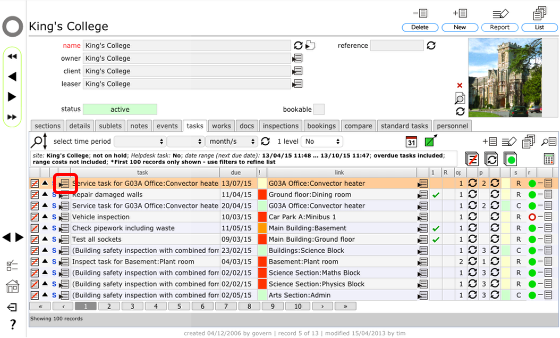
Start by clicking the goto button on the relevant row to go to the task record
The task record
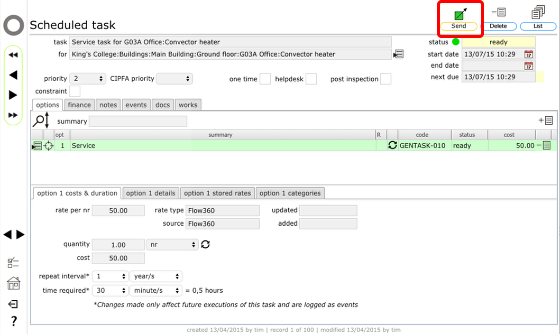
Click the Send button at the top of the task record.
NOTE: The Send button will only be visible if the task is ready to send and you have permission to do so!
Confirm order or enquiry
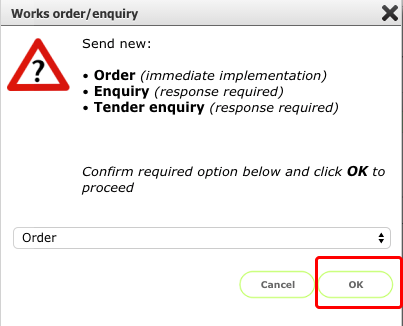
For a direct order, simply click OK to proceed.
Confirm dates and target
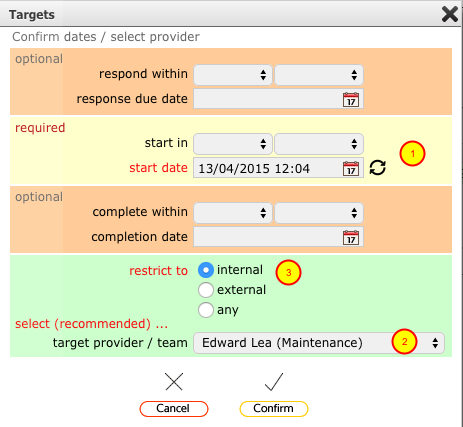
- The minimum that is required here is a start date. You can optionally include a requested completion date and (for enquiries only) a response date.
- If you know who you wish to send the order to, select the relevant target (individual and/or team) from the drop down list .
- To resrict the choices to internal or external providers only, select the appropriate restrict to option.
Click the Confirm button to continue.
Confirm recipient for order
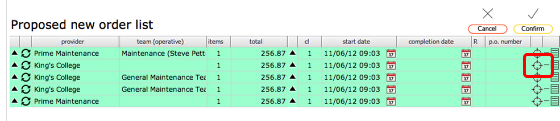
The proposed new order (enquiry) list will show all the possible targets for the new order based on their various remits. If it was not possible to find any providers with relevant remits you will see a message informing you of this.
If in the previous step you selected a specific target then only that target (plus the relevant team options) will be listed.
You now need to decide who is going to receive the new order. The Proposed new order list shows all potential recipients for this order - click the appropriate target button to create the order and send it to the selected recipient. That's it - order created!
NOTE: If any of the rows in this list are highlighted in red, you need to supply an order number before you can confirm the order. This process is controlled by client level preferences. See the chapter on Raising Purchase Order Numbers for more detail.
New order added to list
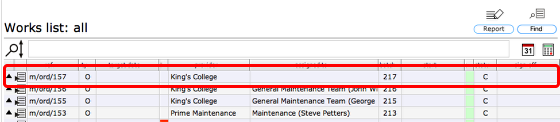
To confirm the order contents, go back to your works list and at the top you will see the new order. To view the full order record, click the Goto button or use the popup button to see the order summary.
The new order record
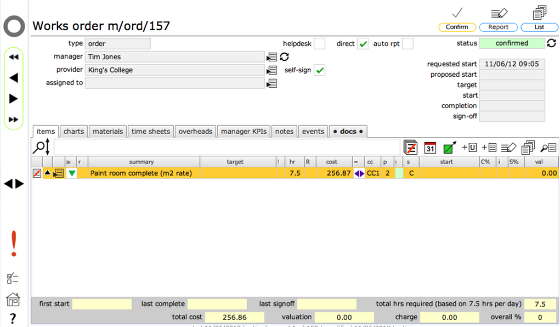
The order lists the single item that was selected for inclusion.
Instant sign-off
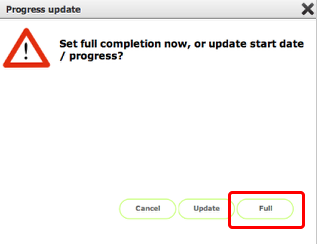
When you want to sign-off the order, click the Confirm button on the order record, then select Full in this dialog.
Confirm dates
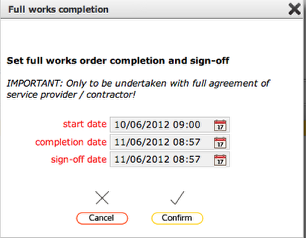
Confirm the start, completion and sign-off dates and click Confirm
Order signed-off
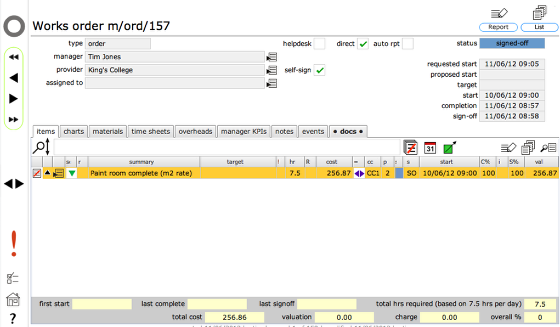
The order is now fully signed-off. Any tasks that are on a repeating schedule will now have had the next due date recalculated for the next iteration of the task. For example, if the task is on a 5-year repeat cycle, then the next due date will now show as 5 years from the date of sign-off.