Adding vehicles
Vehicles are 'areas'
Vehicles need to be added at the 'area' level of the resource hierarchy. This leaves 2 levels for vehicle items and components whilst still allowing the parent parking spot or garage to be specified at the zone level.
For example:
- Site: King's College
- Section: Main school
- Asset: Garages
- Zone: Garage 1
- Area (added as vehicle): Minibus
Another example:
- Site: King's College
- Section: Main school
- Asset: Driveways and paving
- Zone: Car park A
- Area (added as vehicle): Minibus 2
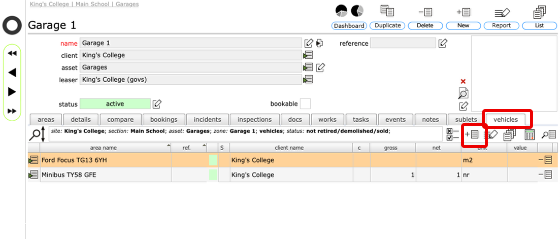
To start adding a vehicle, (assuming the parent location is in place) click on the vehicles tab and then the add new button.
NOTE: If you add an 'area' as a normal area, meaning to add it as a vehicle, you can still flag it as a vehicle by clicking the vehicle tickbox on the record card.
Add vehicle details
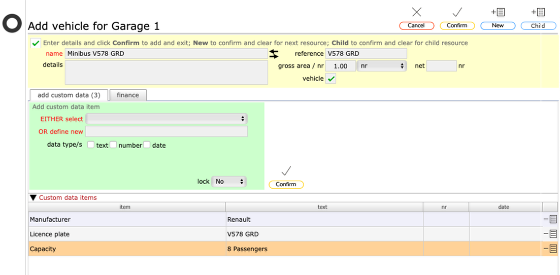
- Add the name, reference, total number and any details in the yellow form section (for vehicles, you can use the licence plate as the reference to facilitate quick find for this vehicle).
- Also ensure the vehicle tick-box is checked.
- Add any custom data in the green section (in this example, manufacturer, licence plate and passenger capacity)
Financial and depreciation information
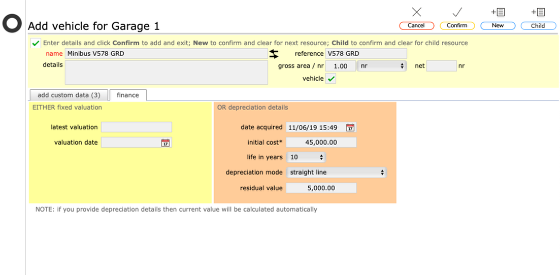
Optionally, on the finance tab add relevant valuation information or initial cost and depreciation information.
Click Confirm to finish
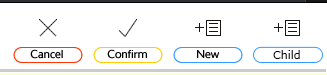
If not adding any other vehicles, simple click Confirm to save the new vehicle.
If adding further vehicles at the same location, click +New instead to add another vehicle.
New vehicle added
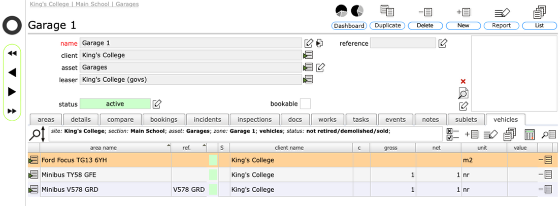
The new vehicle added to the list in Garage 1