Using inspection forms with quick action tasks
Creating a quick action task with linked form

- Start on the relevant resource record
- Select the tasks tab
- Click the 'Add task' button
Confirm action
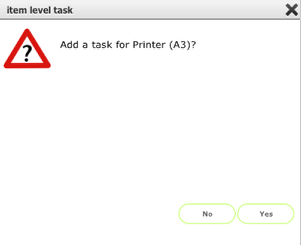
Click Yes to continue
Create task
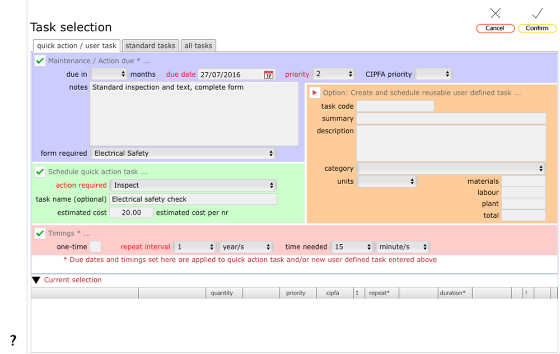
Complete the blue, green (quick action task) and pink sections with the relevant details:
- due date
- priority
- repeat interval (or select one-time)
- time required estimate
- notes: add any relevant task notes (methodology etc) (optional)
- form required: specify the form to be used when executing the task (optional)
- task name: set a custom name for this task if required (optional)
- cost: add relevant costs if known
Click Confirm when done.
What happens next?
- The task will be added as a task for the relevant resource
- The relevant form (if specified) will be linked to the task
Task added to list
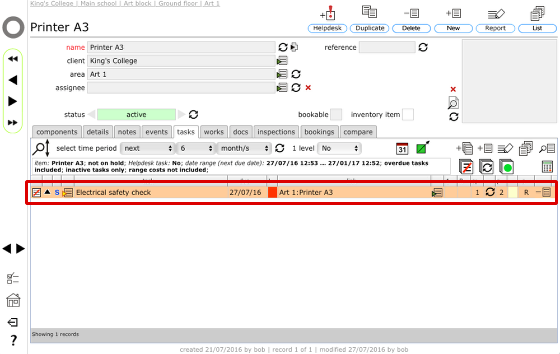
The new task is added as a task.
Click the Goto button to the left of this row to view the task record
The task record
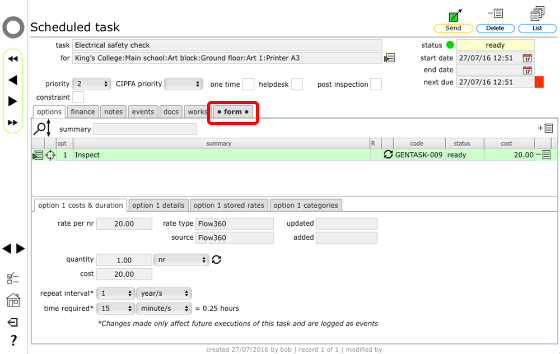
If the task has a linked form, the form will be displayed on the form tab.
Click the form tab to view the linked form and customise the labels where appropriate.
The linked form
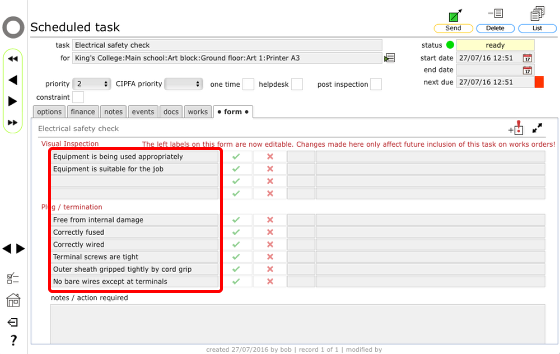
The form labels on the form can be customised - simply change the text as required. This allows you to customise the labels used for a specific usage of a form linked to scheduled task.
NOTES:
- In most cases for customised forms the labels should be worded to allow for Yes/No results to be recorded.
- Not all forms have customisable labels
See also
Customising forms
Using forms with standard tasks